
Ford Model T with tracks vignette
During the diorama workshop with Rick Lawler at Nats23, I started messing around with a test of a cobblestone street. It wasn’t meant to be much more than a test run for a future project (details to come). But later that day, I walked past the Vargas Models table in the vendor room and saw their 1/35 scale Model T with tracks kit. I had to have it, and a vignette idea was born!
Here’s the specs:
- Model T with tracks model
- Man in suit figure (Miniart – German Civilians)
- Street lamp (Miniart – House Accessories)
- Pico LED lights (Evan Designs)
- Manhole cover and sewer grate from Liang Models
Creating the base

The base was made out of insulation foam. The cobbles were “carved” by drawing them with a pen after cutting/scoring the basic shapes with an Xacto.


I cut the sidewalk area down so I could create a gutter with nice clean lines. Stacking and then gluing the sidewalk triangle gives me easy control. No hacking away on the foam and hoping to get straight enough. This approach also allowed me to cut out the sewer grate area easily too.
I textured the cobbles on the roadway with a couple balls of crumpled aluminum foil. I make sure to avoid the “concrete” pavers on the road. I kept those relatively flat. The triangle sidewalk+curb piece was textured with the foil balls. The sidewalk was created with AK Interactive’s concrete texture. This stuff is pretty great… goes on easy, really nice and consistent texture, and dries hard. Once it dried, I took a sanding board over the top and it helped the concrete illusion. Then it was time to glue it down.

Once everything was dry, I drilled a hole for the street lamp and then carved out the bottom of the base to put the battery and the on/off switch. (Talk about hacking away… hahaha!) And ignore the test carving runs on the bottom!
You’ll also notice that I glued some magnets in the base, which is standard practice so I can put them in my carrying case that has a metal shelf.

The wiring was pretty simple. Evan Designs sells a pico LED and a coin battery holder with a pre-wired on/off switch and I simply soldered those two together and ran the lights up through the street light. (More on the street light in a second) One thing I was worried about is the coin battery dying and not being able to easily remove/replace it with a new battery. So I glued a magnet under the coin battery holder which provided just enough hold to keep the battery in place but is easy to remove to swap out batteries.
The cobblestones were painted first with a base layer of dark grey. Then with a random application of Tamiya light and dark brown. This was basically just to establish a random pattern of colors.


I used tile grout between the cobbles. Mixed it from dry grout and the then used my finger to run it across the cobbles.
Critical note: Tile grout is abrasive + acrylic paints aren’t hard finishes + foam is soft. This means if you overwork (or even just normal work) the grout into the foam, you can sand the paint right off. No big though… just keep an eye out for it. I came back after the grout was dry and used AK3gen paints to touch up and randomize the cobbles. Some were flat pink from the foam showing through.
I applied a number of washes in various colors to show stains and grime that a roadway would normally have.


Speaking of the street light, since I wanted to run wires through the middle of it, I had to replace the pole with a brass rod. The base and the lamp were slightly modified to fit. The Miniart House Accessories kit is an older one and the parts were ill-fitting and full of flash, but it turned out pretty good!

The Miniart kit give a flat piece of clear styrene and a cutting template so you can cut panes to size. But since I’m always looking for ways to use my Cricut Maker3, I just used it to cut out a bunch of them. I then sprayed AK Interactive Ultra Matte Varnish over them to frost and diffuse the light from the LED. This gave a more realistic look even if it was wasn’t 100% realistic.
To paint the street lamp, I primed, base coated in rust colors, ran through hairspray chipping with a Tamiya green layer then gloss coated with the Mr. Color GX100. I sprayed it with just barely enough thinner and laid it down thick. This gave it a nice shiny color the real object has, but also gave a nice texture to replicate the cast iron. Some panel washes and minor weathering and it was ready to be mounted on the base. (One note: I used super glue to affix the plastic street lamp to the AK concrete and the glue set FAST. In fact, so fast, I didn’t have a chance to realize I had the lamp oriented the wrong way. I had to pry it up to reposition it…and pulled the LEDs out of whack in the process. This required some additional soldering.)
The final touch was the old WWI era posters on the pool. These were image I grabbed off the web, scaled WAY down, and printed on my laser printer. I cut them out, crumpled them, dipped them in dirty paint water, shaped them, let them dry, then glued them on the pole.
And as a fun detail, I added one little line of bird poop to the top of the fixture.
Oh … the light itself is almost impossible to photograph correctly.


I regularly placed the vehicle and figure in place as I worked to make sure everything would eventually connect up properly.


At this point, I used my Cricut to cut out the edge band veneer (using the Cricut walnut veener). This was a great way to get them cut to size and totally square with little effort. Once I’d glued them on using Aleene’s Tacky Glue (which isn’t so “wet” it warps the veneer), I sanded the top edges to really follow the contours of the cobbles. It’s a minor tweak that really helps the human brain gain comfort when viewing the vignette.
Oh, and speaking of gluing the veneer on, I wanted to make absolutely sure the veneers were held totally flat while they dried. I’ve had issues with plain PVA white glue and veneer where it warps the hell out of the thin wood while drying. So I clamp each side REALLY good and let them dry fully before doing the next side.

Next was the manhole cover and surrounding concrete. I wanted to make it look like the manhole had been added to an old cobblestone street well after the original street was built. I glued the round holder ring for the cover in place (the Liang Model manhole comes in a two parts, the cover and the holder ring) with PVA glue. Once it was dried, I used the AK concrete product to fill in the surrounding recess.


To finish off the base, I weathered the sidewalk, painted and installed the manhole cover and sewer grate, added some wet effects around the sewer grate and in the cutter, and applied a few leaves. I didn’t want this scene to look like a dirty street. This Model T with tracks was a prototype and any time it would have made its way out of the garage, it would have been to show it off. And they would have swept the streets clean first.
The last step was to apply some walnut color Danish Oil to the veneer to really make it pop.
I haven’t created a name plate for it, but I have some ideas… based on how the project finishes out.
Stay tuned for details on the figure and the Model T… as well as putting the whole project together!
Paint Notes
- Lamp post: Tamiya XF-26 (Green)
Painting the figure
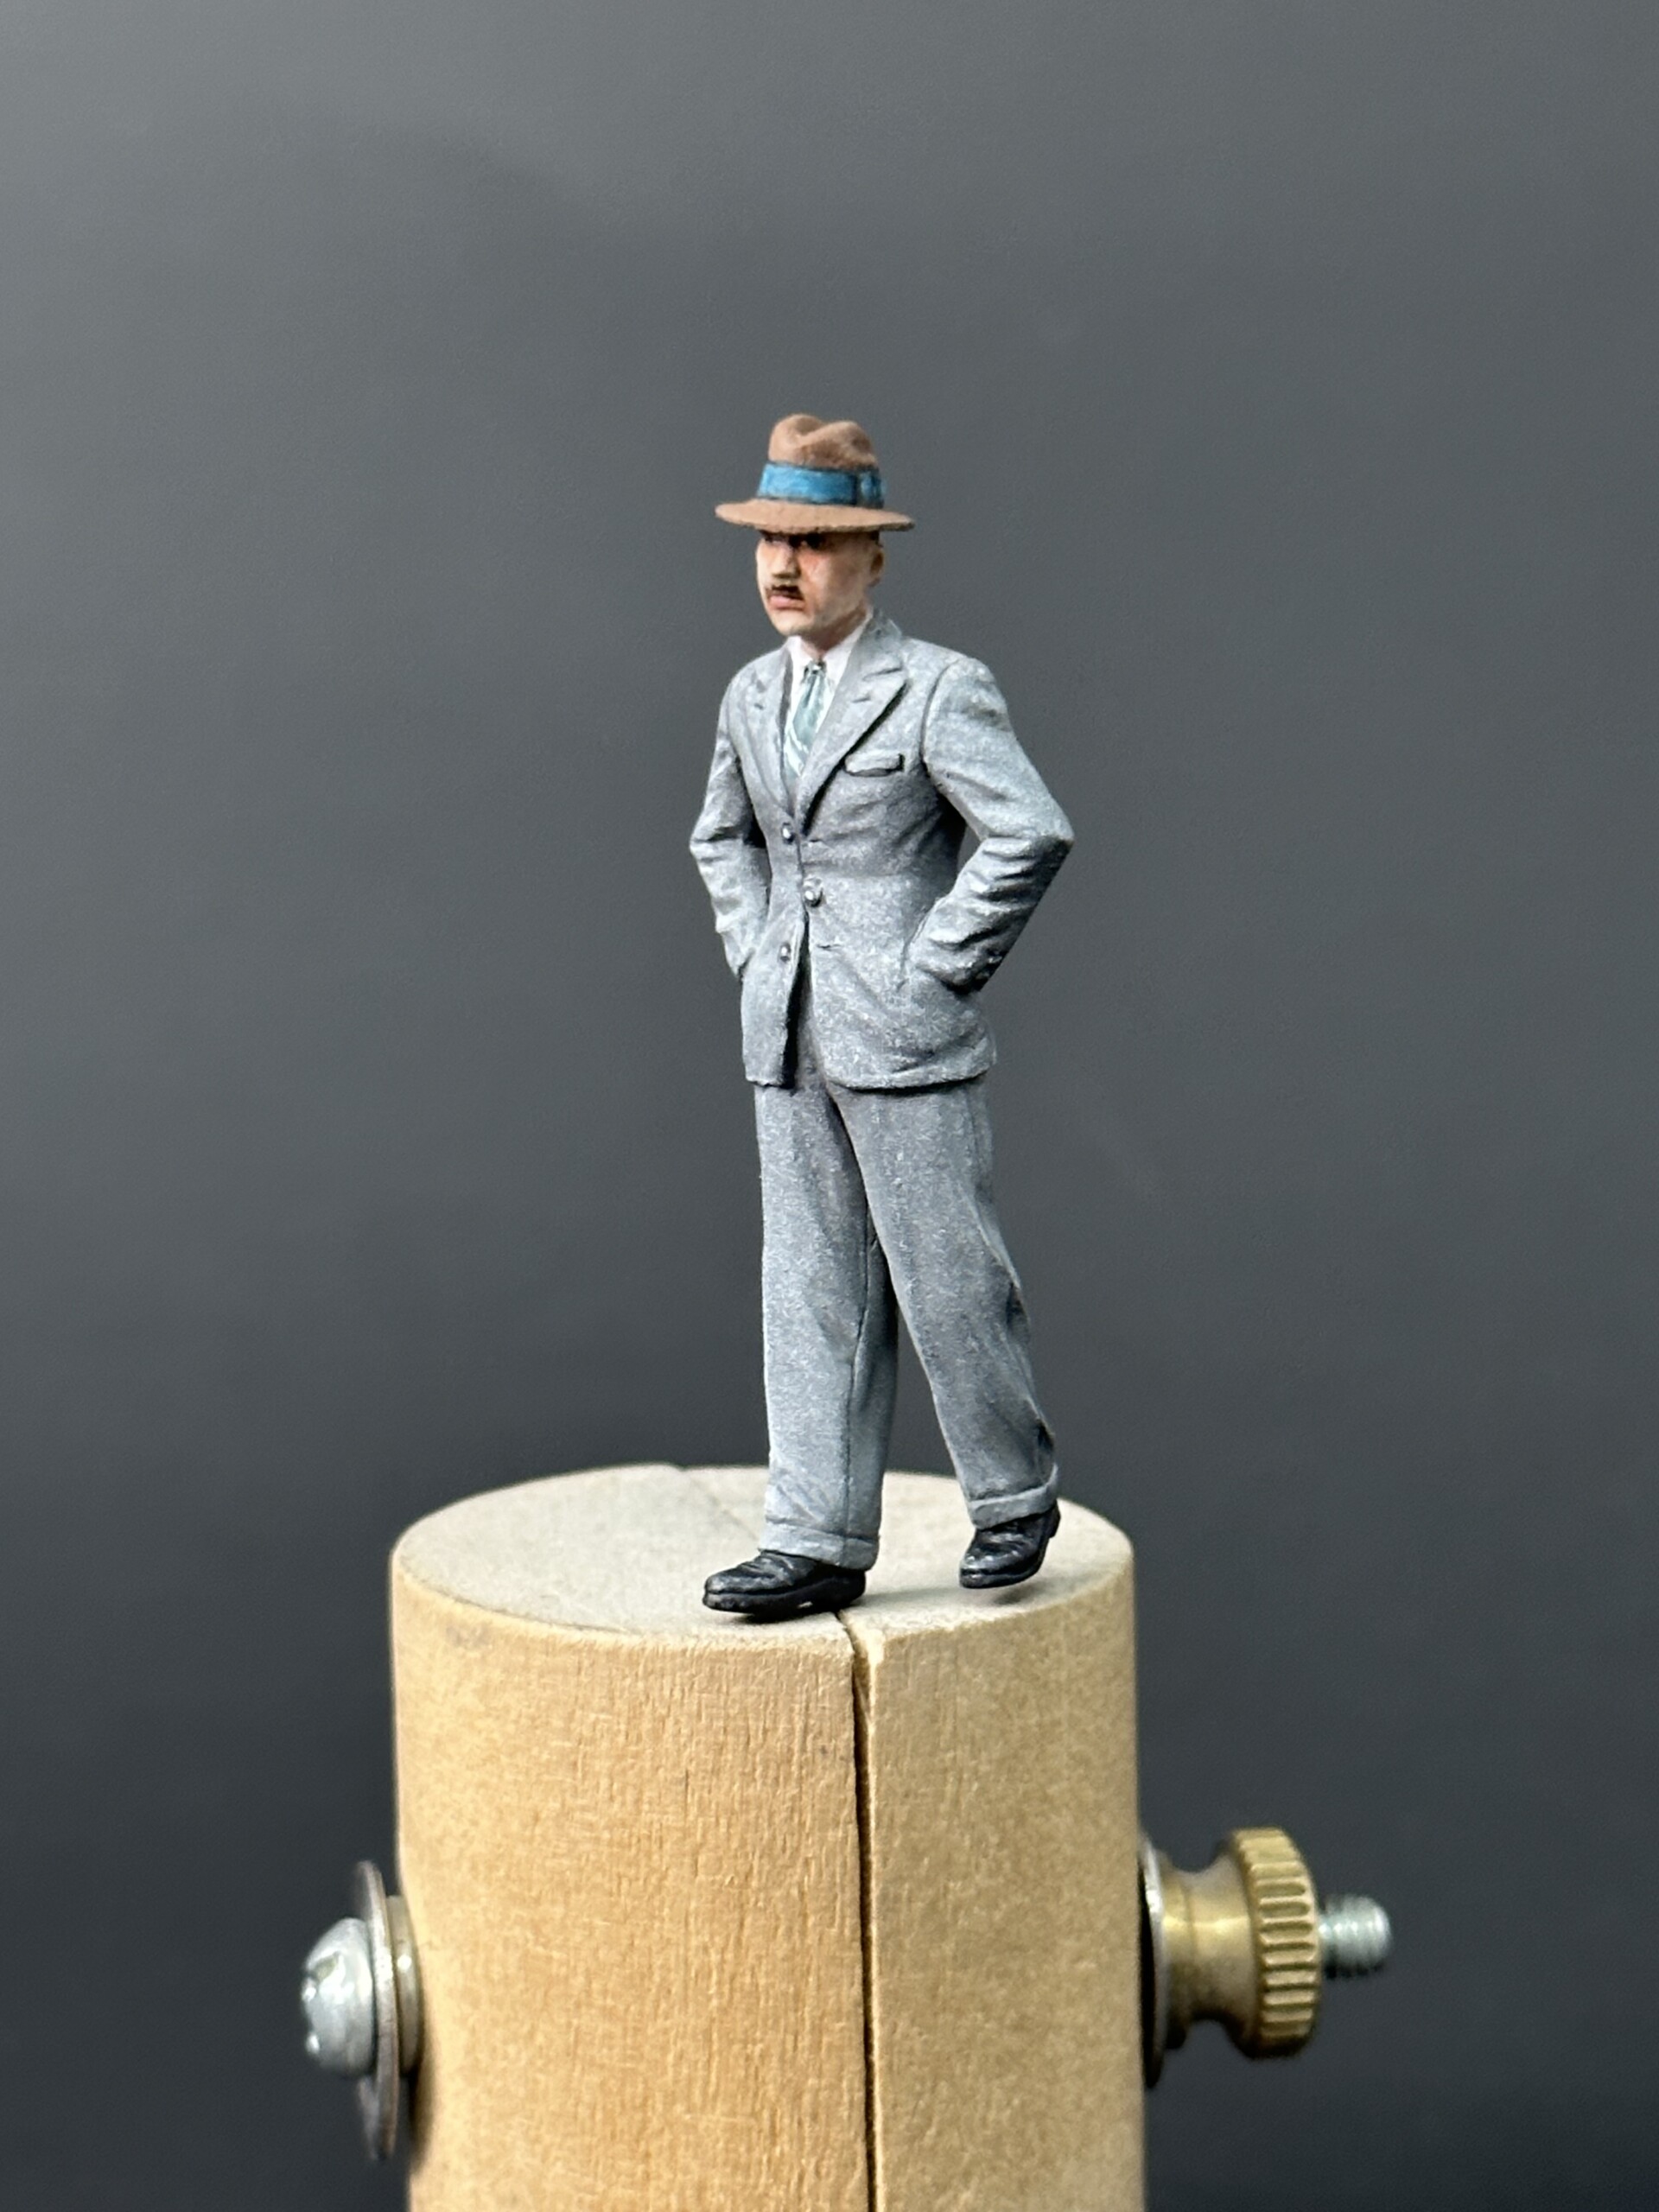
 Here’s the figure for the Model T vignette. He’s from the Miniart German Civilians set and required a fair amount of cleanup. There are no real locating holes for the torso+hips. And the arms fit well into the pockets, but still needed a touch of putty.
Overall this figure was pretty straightforward. Basic figure painting techniques to get the face in order… the best I can with my current skills. (And boy do figures this small not photograph well!)
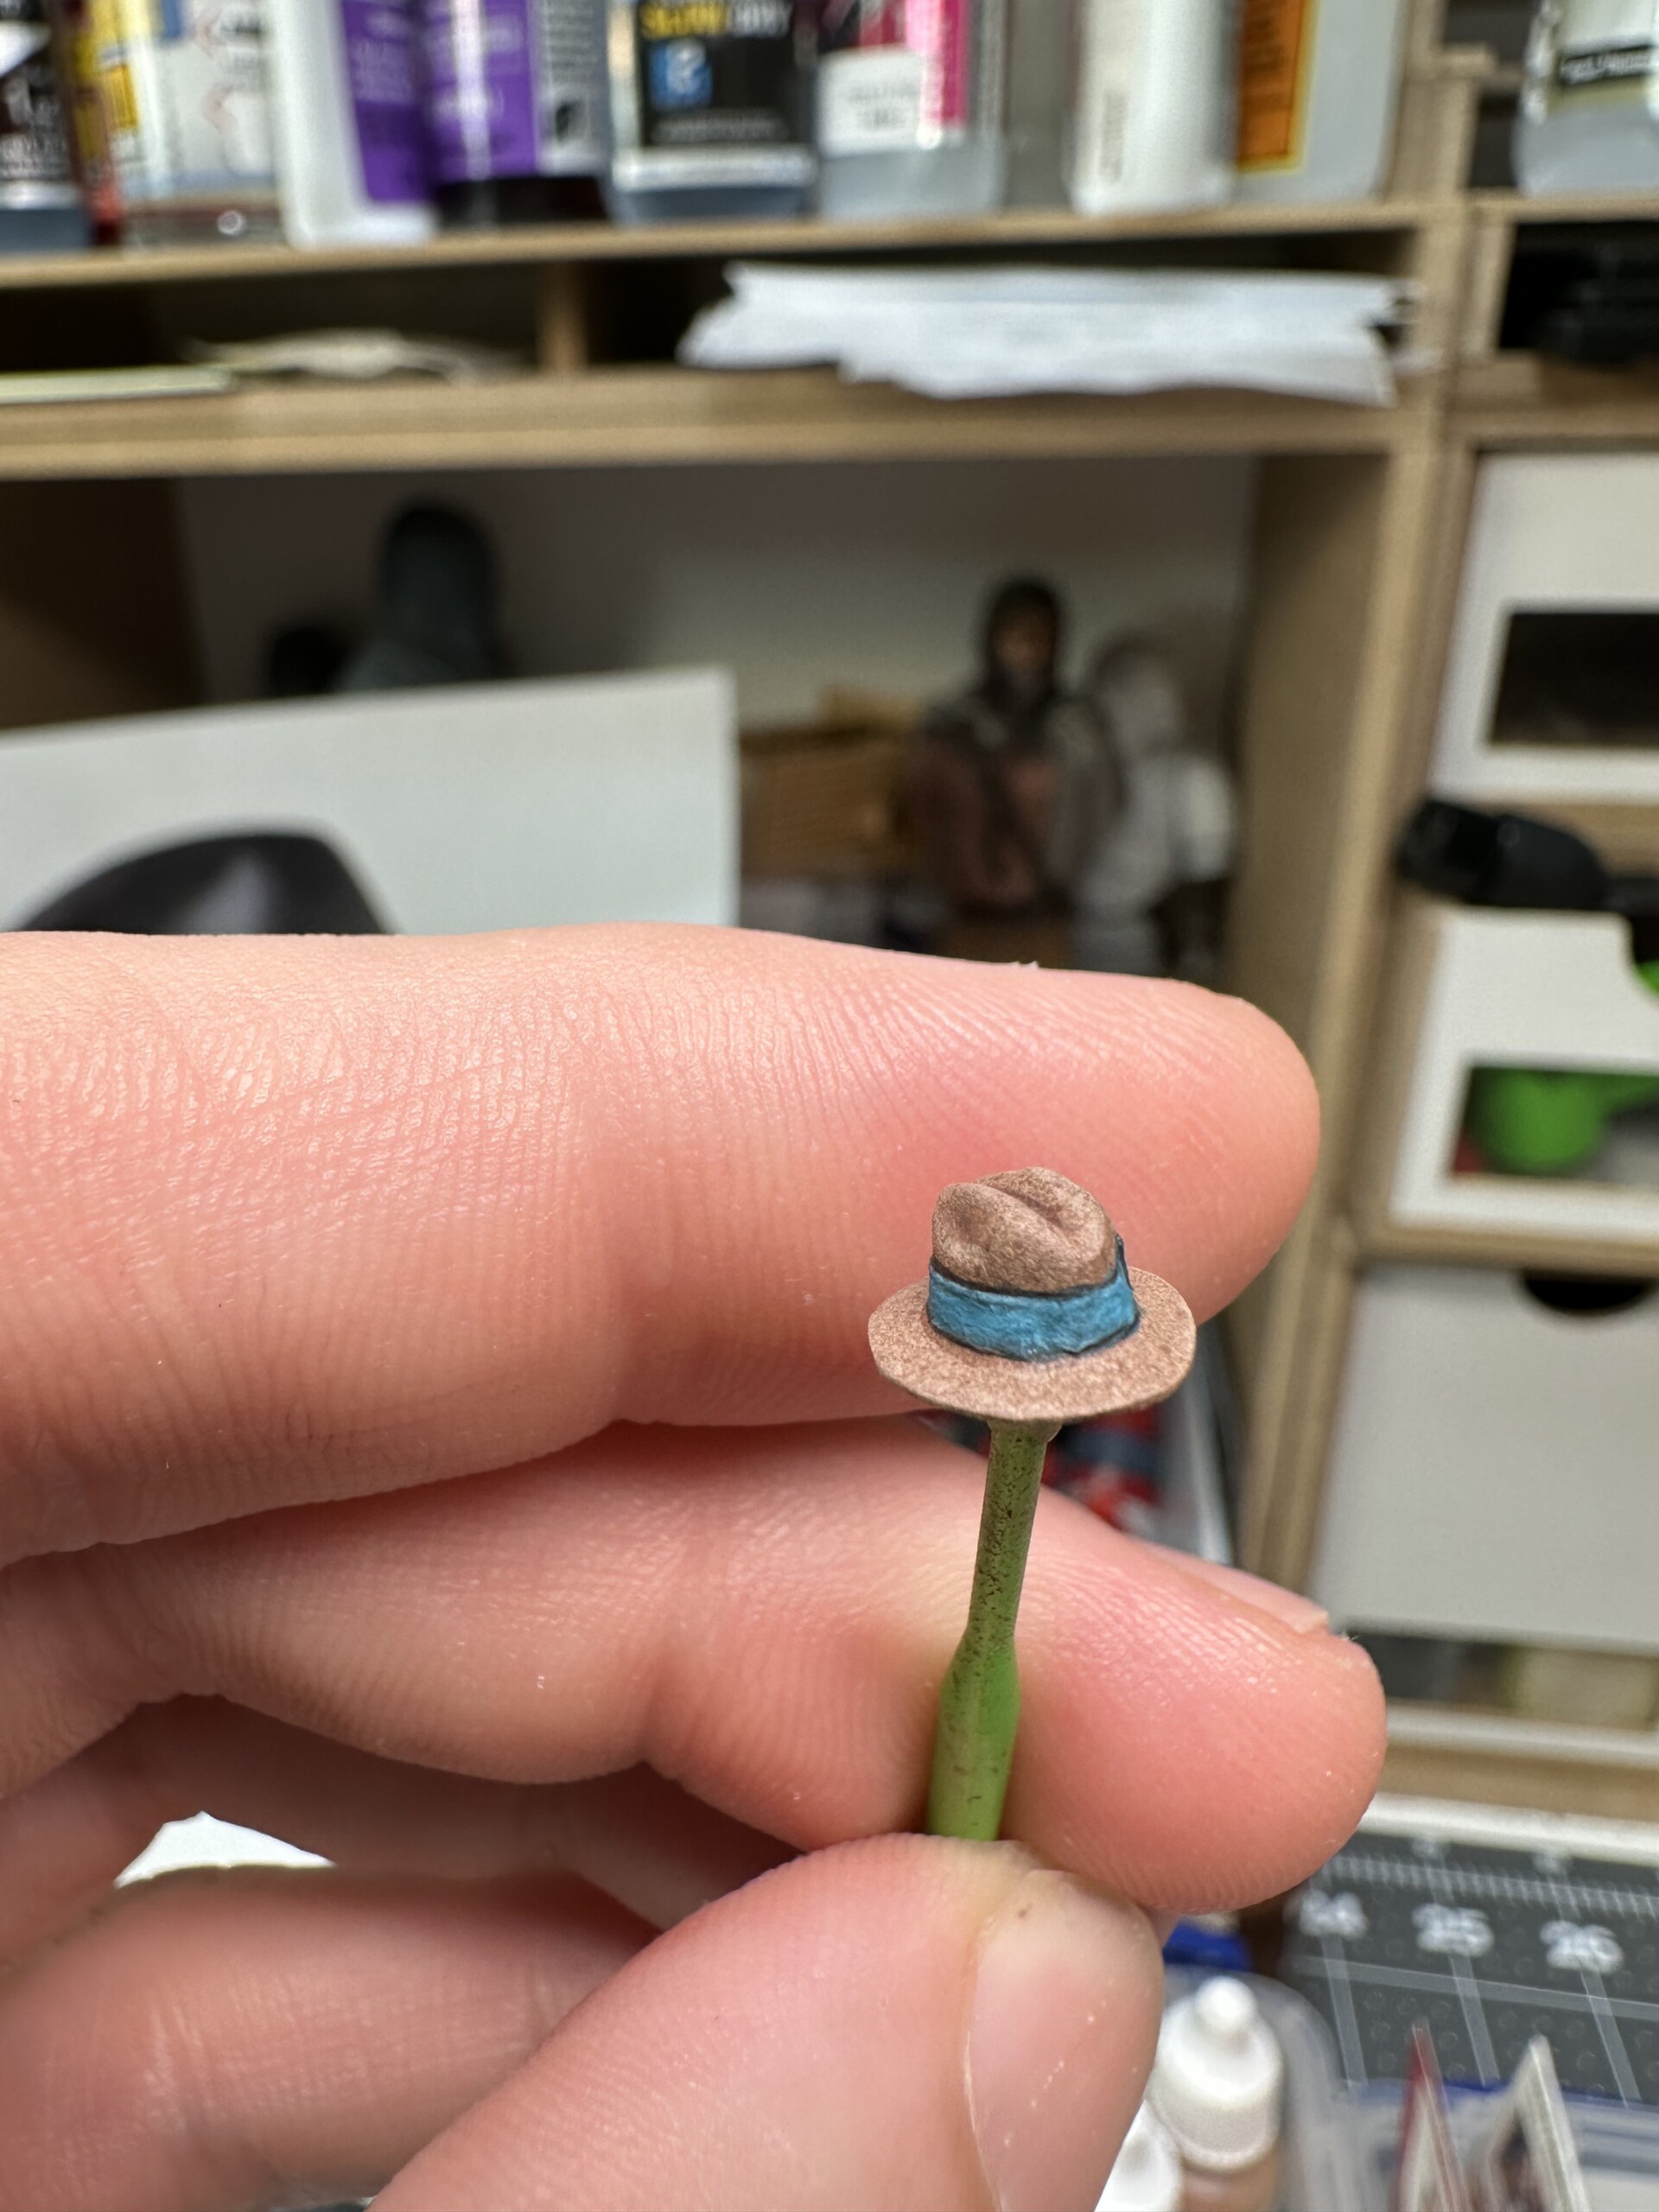
For this figure, both on the hat and the suit, I was trying to new technique: spatter stippling with the airbrush. Thin your paint way down, turn your airbrush pressure effectively to zero, then bump up the air pressure to just a touch over zero so the paint gets flung out but doesn’t atomize. Use a few different lighter and darker shades of the base coat and you’ll end up with some cool “textures” that replicate wool and felt. Here’s the hat:
Here’s the suit:
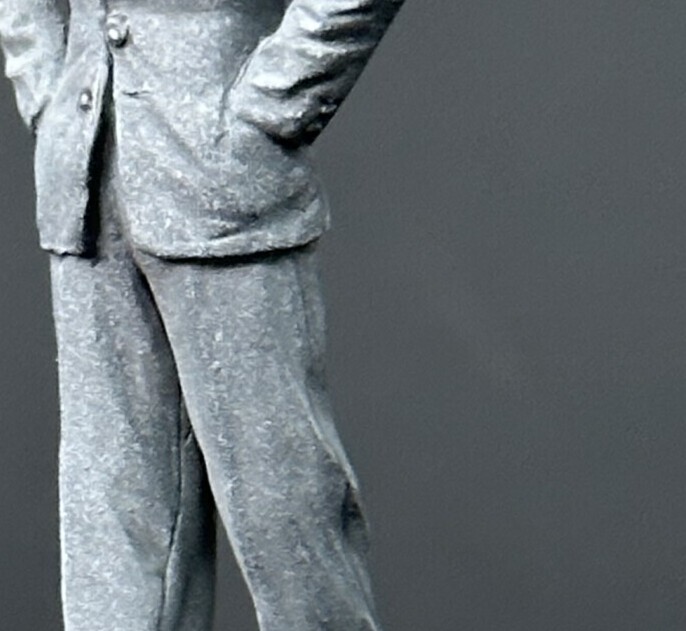
Some people use this technique darker and lighter in the shadows and highlights… i just used straight paint with a brush to add highlights and wash in some shadows. Turned out pretty good!
Paint Notes
- Flesh – based with Andrea Flesh Set, color #1
- Suit
- Tamiya XF63 German Gray
- Tamiya XF66 Light Gray
- White XF2 White
- Hat
- Tamiya XF57
- Tamiya XF79
- AK3Gen 11173 Ocean Blue
- Tie
- AK3Gen 11164 Dark Blue Grey
- AK3Gen 11011 Blue Grey
Building and painting the Model T
The first thing that has to be said about this Vargas Models Model T with Chase tracks is how cool it is. It’s a great design with some fun detail, printed out, effectively, in one big part. No construction to do, right?!?
The second thing that has to be said about this Vargas Models kit is how much cleanup it took to get it ready to go, killing the “it’s printed in one big piece so it’ll be a fast build” vibes. There was a massive, deep 45 degree print line running through the entire model. After asking (and asking and asking) for Vargas to send me a replacement without this line, I finally gone one weeks and weeks (and emails and emails) later. With only a slightly less deep print line in the exact same spot. (Luis told me later that it was a problem with the model that he was fixing) Rather than wait around and lose mojo, I pulled out the putty and started filling and sanding. And filling and sanding. And filling some more. And sanding some more. The side panels of the engine cover were also covered in print lines and were hard to clean up. Mr. Surfacer and some Godhand sanding micro sanding sponges cut into small pieces that were held with tweezers did the job. I ended up removing some Model T trim pieces on the firewall area, but hey, this was a prototype right? I can justify them not being on there… right?


The other challenge with this print was the rods on the bottom. Because of warping on the thinner rods and the cleanup necessary on the thicker rods, I just cut them all off and replaced with brass. Much better.


Painting the tracks
This was a pretty straightforward process but with a LOT of painting and touchups. There are a lot of colors in these things and I wanted to represent each one well. But beacause the model wasn’t going to be significantly weathered (this is a vignette of a prototype being shown off) there needed to be a minimal amount of dirt to cover any mistakes. So I painted, fixed, painted more, fixed more to get things as tight as possible.


Painting the seat
This seat was infuriating to get started. I tried three full tries and just couldn’t get it anywhere near where I wanted it to be. So I did what any marginal modeler would do: I called someone smarter than me and asked for help. Jim Rice, the amazing figure painter and sculptor picked up the phone and helped me break through. Here’s what he suggested when I shared these reference photos that I’d captured during date night the night before. This was the color I was going for to help provide “less black” in this little car.


Jim’s steps for a leather seat:
- Paint the base with burnt umber
- Use burnt sienna umber for almost all of the seat, leaving some shadow areas peaking through
- With very random, twitch brush strokes, add 3 shades of burnt sienna umber + golden flesh to create the increasingly small highlights
- Stain the entire seat with diluted ink the color of red wine (I used FW scarlet and sepia inks since that’s what I had at arm’s length)
- Create a violet ink filter for the entire seat, very diluted (This really helped things pop)
- Touch up highlights as needed, re-apply inks. (Make sure to mix up enough ink to be able to do several coats of it throughout this process, keeping in mind they dry out faster than acrylic paint)
(All paints were Scalecolor Artist acrylics, inks were all FW)
This worked wonderfully. My only real shortcoming was figuring out the process of how much burnt sienna umber (step 2) to apply… I left the shadow areas way too big.


Wrapping things up
I sprayed a very light, very thinned dust coat of Tamiya Buff onto the bottom. This vignette was meant to be more of a “hey look at our shiny new prototype” than “this is a real vehicle muddy from the field”. Even if this thing had been spit polished, driving it 10 feet down the cobblestone road would have gotten it a little dusty.
Putting the tracks on straight was… fun. I think I got the one piece track elements on straight and parallel. Now I can go win my next local IPMS show.
Final images
And with great fanfare… here’s the final images!


