
Ode to the paint mule
That sacrificial lamb that helps you avoid looking like a fool.
You’ve saved us from stumbling many times
And ensured our paint job isn’t missing a sign.
Over and over, we add layers of paint
Learning what’s good and what ain’t.
A quick shot of oven cleaner
And we’re starting over making our skills even meaner.
I have a couple models that never made it past the build stage, as well as a few upper tank hulls that I picked up for free in a hobby shop freebie box. I use these as paint mules … models I use to test my various paint and color techniques before I airbrush them on a real models. I’m a bit of a perfectionist so I like to make absolutely sure that my technique is tested and dialed in before I spray the real model.
I start with a layer of my Touch N’ Tone primer spray paint, like any other model. Then I’ll spray the techniques I am working on, do whatever chipping/painting/etc. I need to. When I’m done, I’ll spray over a coat of primer and start again. works great.
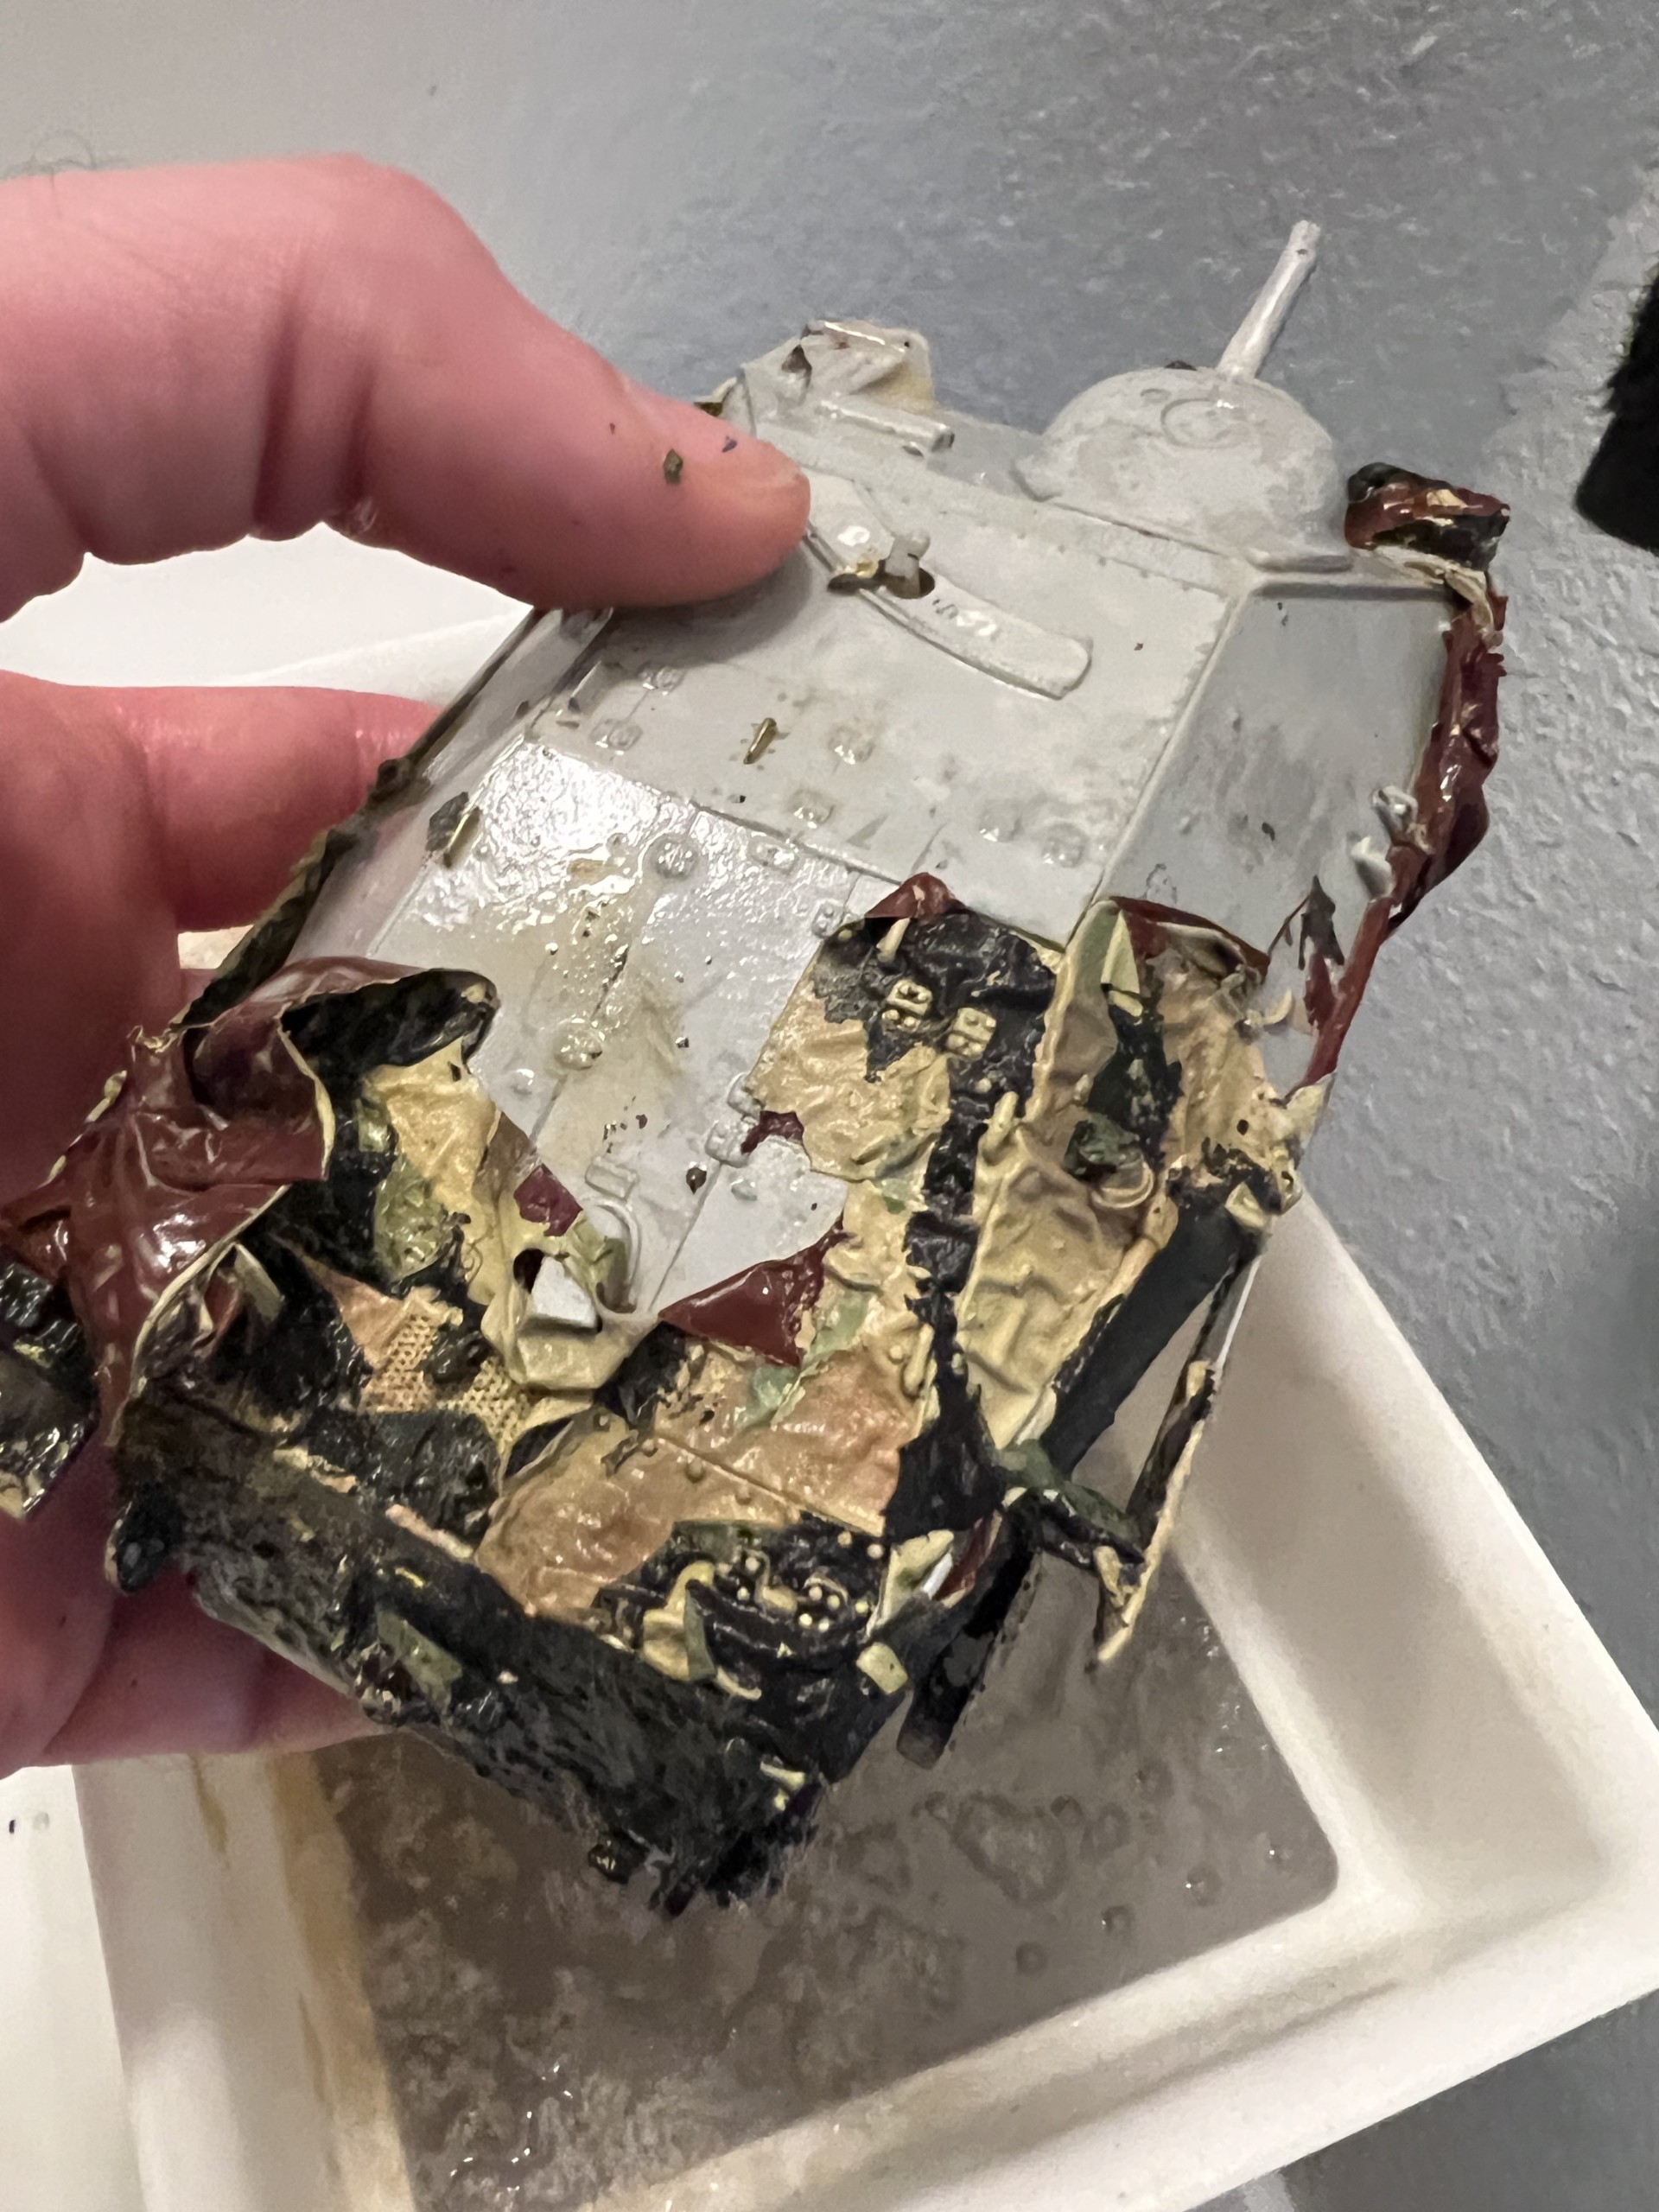
After some time and some layers of paint, the surface of these mules gets pretty funky with non-standard paint textures and tons of layers of paint. I probably had 75 layers on these two models seen above. Not only does this build of paint create funky textures, it can also start to mess with the techniques I’m working on.
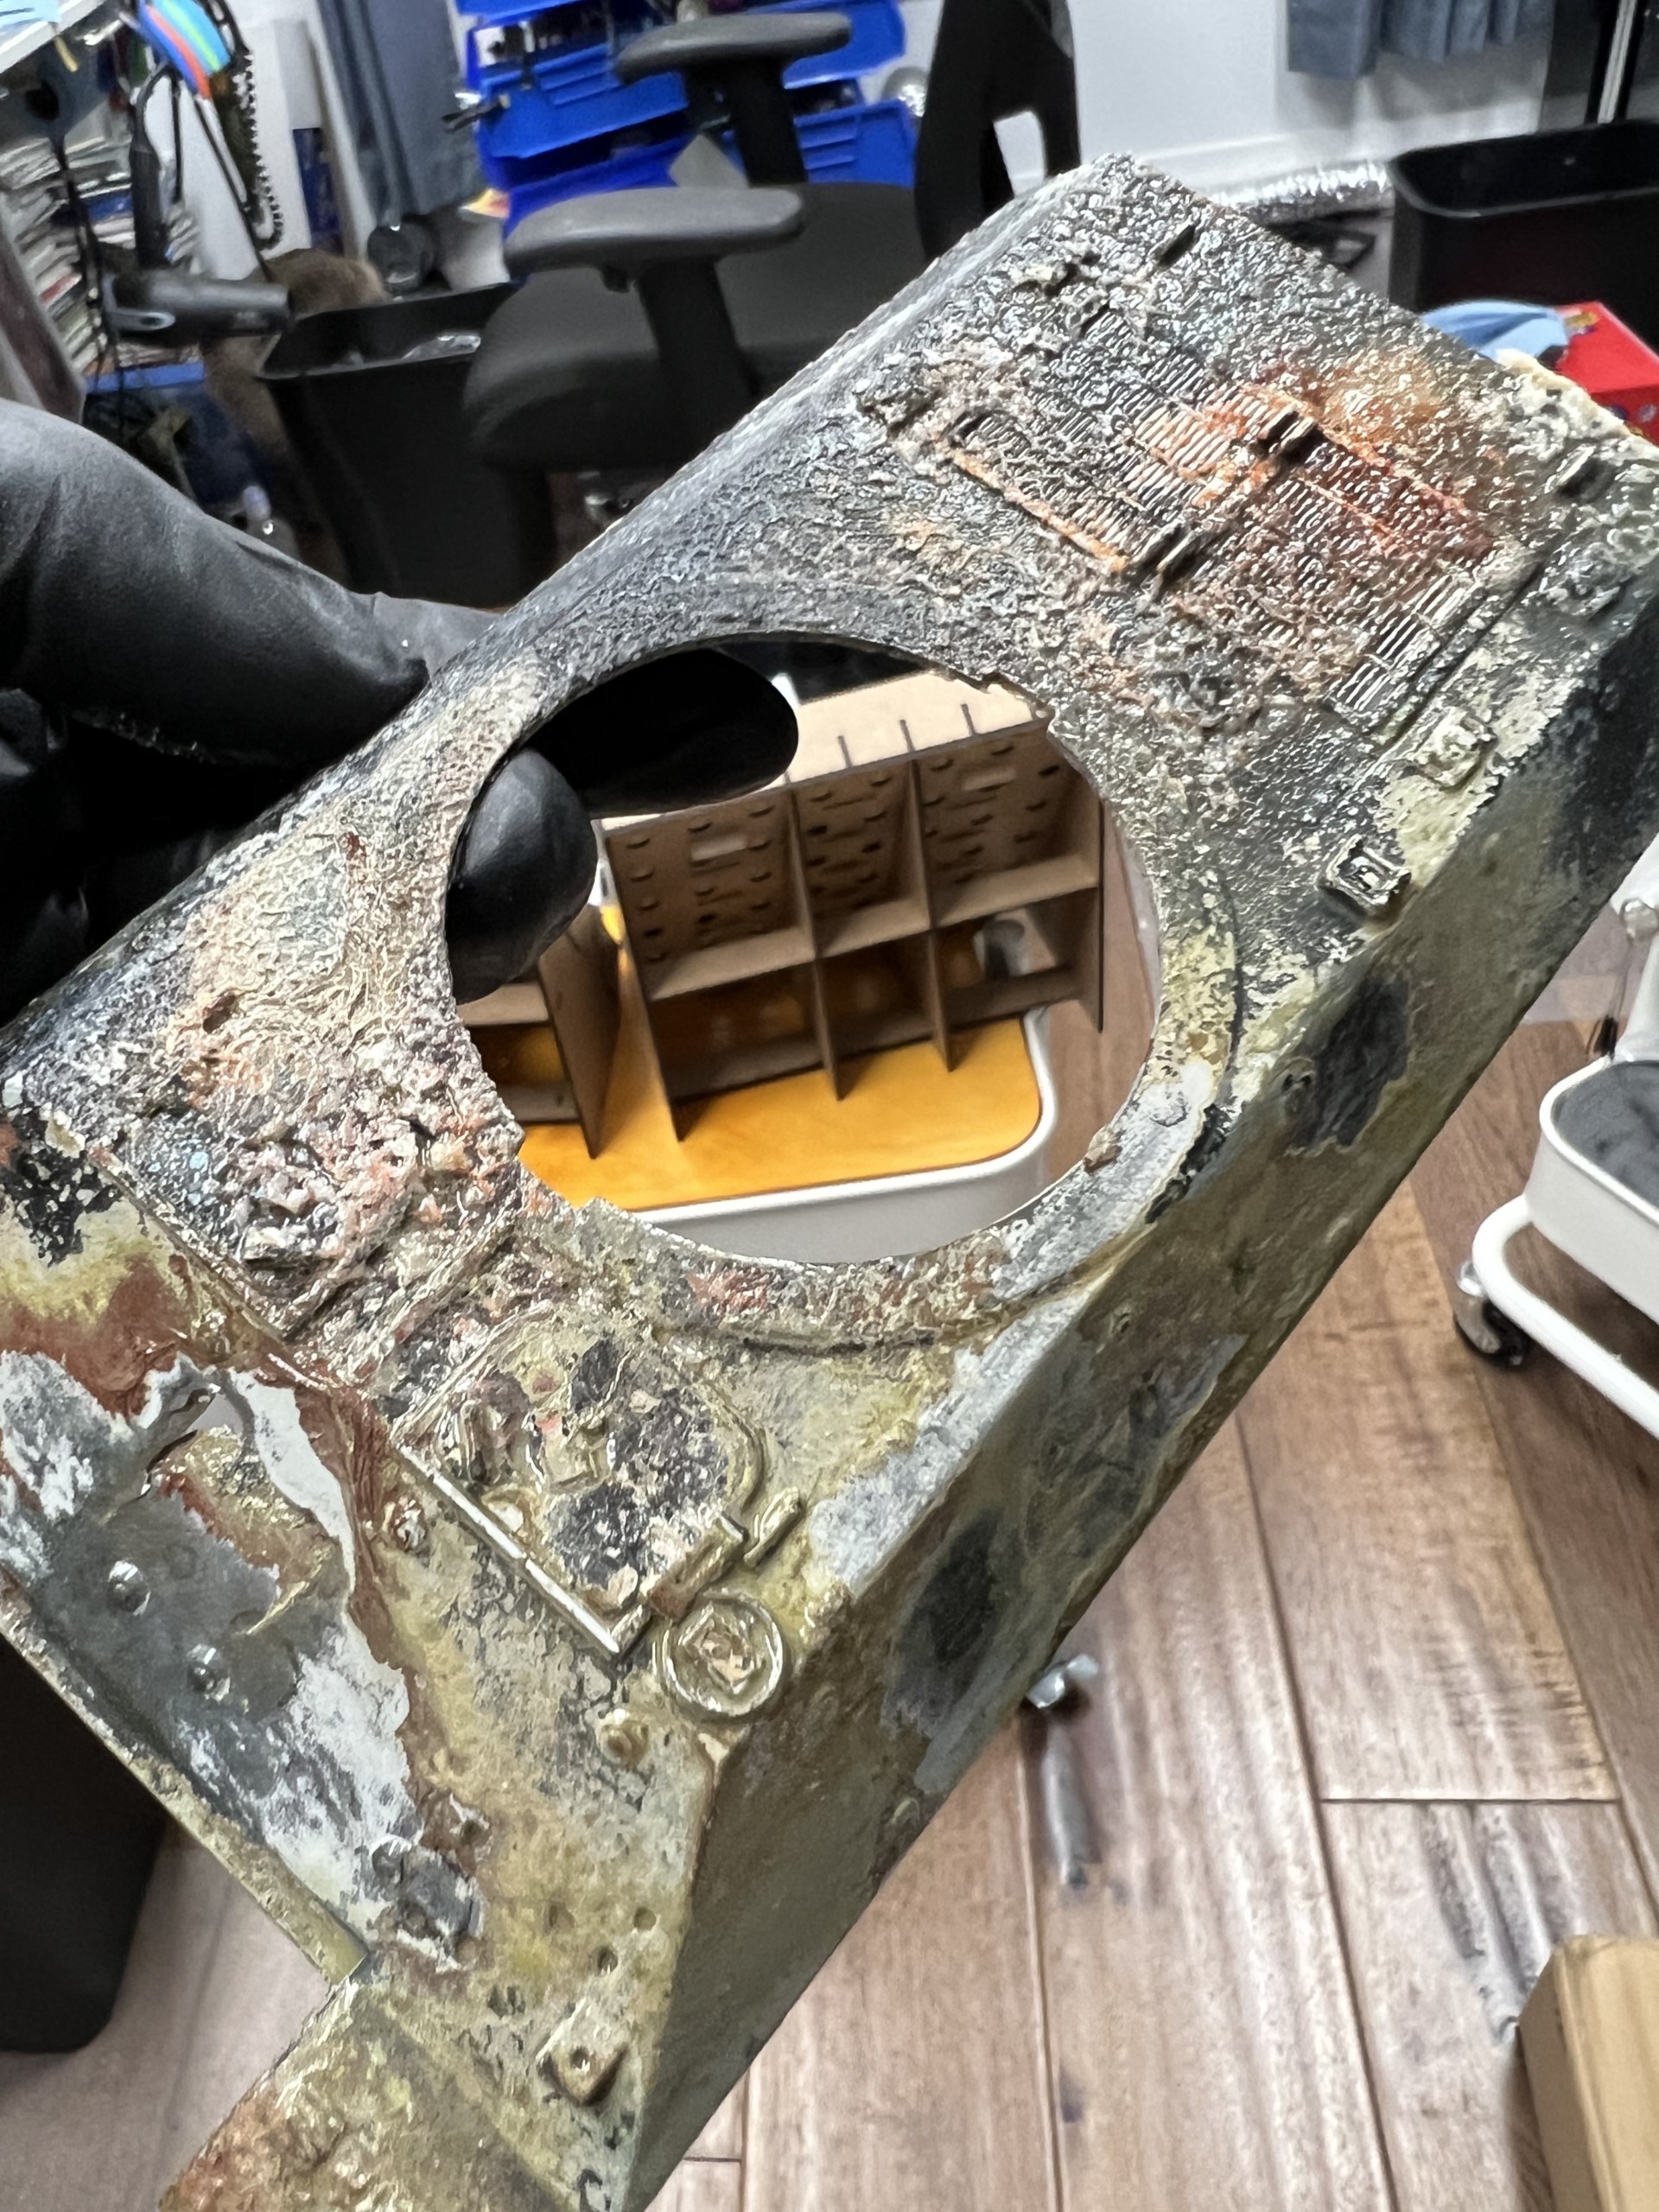
At that point, it’s time to spray on some oven cleaner, let it sit for at least an hour, and then scrub off the paint layers and start over with a fresh “first” layer of primer to the now exposed raw plastic. Sometimes you can actually just peel off the paint layers.
One note: use a bucket of water you can properly dispose of when you’re stripping the model. The oven cleaner and old paint shouldn’t be inserted into your local water supply.


Leave A Comment